
Texinfo is the documentation system preferred by GNU projects.
The major design goal of the Texinfo format is to produce high quality printed output as well as online browsable output from the same source (.texi) file. Texinfo obtains the basis for a high quality hardcopy with a trick: it builds on plain TeX and adapts it by reading the file texinfo.tex (Your system might have more than one copy of this file. Check that you are really using a recent version (2002-01-04.07 as of this writing)). texinfo.tex does all the necessary formatting setup. It extends TeX to recognize hyper-references and all the gizmos that is needed for online documentation. Rendered for online viewing, Texinfo source yields Info (.info) files.
Info is an ASCII file format suitable for browsing hyperlinked documents.
It is intended to be portable to all platforms which run GNU applications.
Info focuses on textual data; this is, all Info files are viewable from a text
console. High resolution graphics are available only in printed output. Thus,
Info is the GNU counterpart of HTML minus some graphical extras. However, texi2html(1) transforms Texinfo
sources (.texi) directly into HTML; see the section on Browsers.
Since Texinfo is based on TeX (see my second article in this series, "LaTeX with latex2html"), we expect to see again a header-body division. Also, the support for hyperlinks calls for additional structuring that we will meet in the form of so-called nodes.
Every Texinfo document starts by reading texinfo.tex with the
plain TeX command \input. This is about the only place where
plain TeX leaks into Texinfo. The part of the file from the inclusion of
texinfo.tex up to the so called Top node -- more on nodes later -- is
the document's header. The Top node opens up the body of the document, which
extends to the closing command @bye.
All Texinfo commands are introduced with an ``@''-character.
The at-character is followed by one or more letters. Only a few commands require
curly braces to group together their arguments. We have already encountered
the end-of-document command @bye. The following example of a
minimal Texinfo file introduces the comment command, which is @c.
Texinfo comments extend to the end of the line in which they are given.
\input texinfo


@c === header ===

...


@c === body ===


@c --- Top Node ---

...


@c --- Sub Nodes ---

...


@byeThe header of a Texinfo file is optional, but it appears in all documents. It at least contains the name of the online-reading output file, and the title used in the printed output.
The output filename is set with the command @setfilename
output-filename. I recommend adding the extension .info to
output-filename, because files without an extension are harder to access
with common shell tools--just think of ls *.info! The argument of
@setfilename reaches right to the end of the line, thus you
cannot add a comment after setting the output filename. Bummer!
Set the document title with
@settitle document-title. Again, the argument
stretches until the end of the line. The title -- as defined by
@settitle -- is used for page headers or footers in the printed
output. It has nothing to do with the document title used on the title page
(if a title page exists at all).
Thus, a simple header looks like this:
    @setfilename example.info
    @settitle Texinfo Example
Other useful commands in the header are:
By default Texinfo assumes a paper size of 8.5" by 11". Outside
Northern America, paper sizes are chosen according to DIN (DIN is the
abbreviation for ``Deutsche Industrie Norm'', ``German Industry Standard'' in
English). The commands @afourpaper and
@afourwide adjust the printable area for sheets of size
DIN A4, where @afourwide selects a somewhat larger printable
area; it does not switch to landscape.
Tip: It is a good plan to inspect the paper size settings of any foreign Texinfo document before you send it to the printer.
Note that no @setchapternewpage even command is
defined.
Tip: All GNU development projects ship with documentation in Texinfo format. If you want to print the documentation on your local output device, it is a good plan to modify the header of the Texinfo files to match your paper size (Letter, A4) and printing equipment (duplex unit, and so on).
The body of a Texinfo document is a mixture of sectioning commands for printing (the TeX part: chapters, sections, sub-sections, and so on) and grouping commands for online viewing (the Info part: nodes). In theory both parts can impose different structures on the document, however this would seriously confuse readers -- probably not what you want when writing technical documentation.
I will present a simplified way of writing the body, where the structure of the online version and of the printed version closely go together. This saves the writer the headaches of manually setting up the structure for the online version at the price of sacrificing some additional navigation possibilities. The simplified way requires pairing the Info structure information with that of the printed version.
The Info structure is defined with
@node node-name commands, whereas the printed
structure is given -- among others -- with the
commands @chapter chapter-title,
@section section-title, and
@subsection subsection-title. The
@node command always goes first. So we get, for example,
    @node Introduction
    @chapter Introduction
or
    @node Iterative-Processes
    @section Iterative Processes
or
    @node Numerical Stability
    @subsection Numerical Stability of Iterative Algorithms
The argument to @node, assigns the
name node-name to the node. The name consists of one or more
words. Spaces are perfectly valid in node-name, but
periods ``.'', commas ``,'',
colons ``:'', and apostrophes ``''' are
not. It is also better to avoid commands (anything starting with
``@'') in a node name. Case of node-names is significant. Within
a Texinfo document each node must have a unique name. By convention, node
names are capitalized just as chapter or section titles are.
A node either contains only data (this is, text, tables, images, and cross-references), or a node defines a navigation menu. I call the former a Terminal Nodes and the latter a Menu Nodes.
@nodenode-name
@sectionsection-title
text-for-node-and-chapter
where I use @section as an example for a sectioning
command.
Terminal Nodes are the ``meat'' of a document. They hold all the visible information. text-for-node-and-chapter usually consists of one or more paragraphs, tables, and so on.
The structure of a Menu Node is the same as for a Terminal Node, with the exception that a Menu Node is ended by the definition of a navigation menu. The navigation menu only goes into the Info version, never into the printed one.
@nodenode-name
@chapterchapter-title
optional-introductory-text-for-node-and-chapter
@menu
*Node name of first section::Synopsis of first section
*Node name of second section::Synopsis of second section
...
*Node name of last section::Synopsis of last section
@end menu
A navigation menu is bracketed by
@menu
@end menu
where every line in between makes up one menu entry. Each menu entry starts
with an asterisk ``*'' followed by the name of the node it
points to (the target node's name). It is ended by two colons
``::'' and an optional short description of the target:
* Target Node Name:: Optional
description of target node
Top node; we define it with the pair
@node Top
@topname-of-top-node
As the Top node will appear first whenever the online version is browsed
(unless you explicitly specify a node to start browsing with), you want to
have some introductory text to go with it. This introduction often is not
suited for the printed version. The printed version shows no menus at all,
remember? Thus, we want to exclude the introductory text from the printed
version, which is done with the conditional translation command pair
@ifinfo and @end ifinfo. A simple Top node then
looks like this:
@ifinfo
@nodeTop
@topExample
This is an example Texinfo document.
@end ifinfo
@menu
*Name of first chapter::Synopsis of first chapter
*Name of second chapter::Synopsis of second chapter
*Name of third chapter::Synopsis of third chapter
@end menu
Now we are ready to write a complete Texinfo document.
\input texinfo
    @setfilename example.info
    @settitle Texinfo Example
    @ifinfo
    @node Top
    @top Example
    This is an example Texinfo document.
    @end ifinfo
    @menu
    * Introduction::                 Definitions, Measures, Complexity
    * Evaluation of Polynomials::    Study of a common operation
    @end menu
    @node Introduction
    @chapter Introduction
    In this chapter I define the concepts that will be used throughout the
    rest of the document.  Moreover, measures of efficiencies as well as
    bounds of complexity will be introduced.
    @menu
    * Definitions::               Fundamental stuff
    * Measures of Efficiency::    How to measure efficiency
    * Bounds of Complexity::      Typical bounds of complexity
    @end menu
    @node Definitions
    @section Definitions
...
    @node Measures of Efficiency
    @section Measures of Efficiency
...
    @node Bounds of Complexity
    @section Bounds of Complexity
...
    @node Evaluation of Polynomials
    @chapter Evaluation of Polynomials
...
@bye
As we have already seen, Texinfo commands start with an at-sign
``@''. The at-sign is either followed by a single non-letter
character or one or more characters. Some commands of the first group
include
@@@'').@"character@'character), circumflexed
(@^character), or cedilla decorated
(@,character) characters. See node
``Inserting Accents'' in the Texinfo documentation for details.and some in the latter group are
Depending on the command, no argument, one argument, or more than one
argument may be required. Some commands require their arguments to be enclosed
on curly braces, like cross references,
@xref{node-name,
cross-reference-name,
title-or-topic}. We have seen commands which take rest
of the line as their arguments (for example @setfilename).
As with TeX, we just type text, separating paragraphs with blank lines. Paragraphs will be filled or even justified depending on the used translation tools.
Section Body has introduced the main sectioning commands.
@node groups the input together in chunks for online reading. An
accompanying TeX-like sectioning command does the same for the printed output.
In particular Texinfo offers the following sectioning commands:
chapter, section, subsection, and
subsubsection.
Please remember that -- for a simplified node management -- each
@node must be followed by one of the sectioning commands for the
printed version.
Making a decent title page is easy. The
@titlepage command with its sub-commands
@title, @subtitle (optional), and
@author completely takes care of the layout. If you want the
material after the title to go on an odd page add a page
break @page right before
@end titlepage.
Example:
    @titlepage
    @title A Texinfo Example Document
    @subtitle Playing With the Texinfo Format
    @author Joanne H. Acker
    @page @c -- force odd page
    @end titlepage
In the section on the Top Node, we encountered the
condition translation
command @ifinfo/@end info. Conditional
translation means directing parts of a document to one translator only, or, in
the negated form @ifnotinfo/@end notinfo, excluding
one translator (makeinfo in our example) from processing a chunk of the
document.
The opening (@ifformat) and closing sequence
(@end format) should appear on lines by themselves.
Three conditionals are available in positive and negative form for diverting data to or away from Info, TeX and HTML.
    @iftex
    ...
    @end tex
    @ifinfo
    ...
    @end info
    @ifhtml
    ...
    @end html
    @ifnottex
    ...
    @end nottex
    @ifnotinfo
    ...
    @end notinfo
    @ifnothtml
    ...
    @end nothtml
Texinfo features the fundamental types of lists, which any author expects: itemized and enumerated lists. Description lists are written in terms of tables.
All lists nest.
Command @item starts an entry in a list or table. The
entry can comprise several paragraphs or further lists. Did I tell you that
all lists nest? They do!
@itemizeglyph
@itemText for first item
@itemText for second item
...
@itemText for last item
@end itemize
Symbol glyph will be put in front of every item. Useful
values for glyph are @bullet, @minus, and
*.
@enumeratecounter-selector
@itemText for first item
@itemText for second item
...
@itemText for last item
@end enumerate
counter-selector selects the type of counter (numeral or letter) and the starting value. If counter-selector is omitted, the list will be decorated with Arabic numerals starting at one.
A positive integer value for counter-selector starts the list at the given value. This is useful when continuing a list. An uppercase or lowercase letter for counter-selector selects letters for the enumeration; again, the list starts with the given letter.
Texinfo cannot render enumerate lists with Roman numerals.
@tableformat-selector
@itemFirst term
Description for first item
@itemSecond term
Description for second item
...
@itemLast term
Description for last item
@end table
format-selector determines how the terms are typeset. For no added
markup, this is, plain description lists, use @asis as
format-selector. If you have code, sample input or output, variables,
or keystrokes as terms, use @code, @samp,
@var, or @kbd respectively. See
section Inline Markup for how to markup specific items.
Within a table, the argument to @item is all the text from
@item to the end of the line. Note that this is different from
itemized and enumerated lists! Thus, the term in a "description list" can only
be a single line. The text after the @item-line up to the next
@item or the end of the table becomes the term's description. The
description can be several paragraphs long and it can contain other lists, and
so on.
Sometimes we need additional terms on separate lines. Because
@item puts its argument on a single lines, another command is
required: @itemx places an additional term right below an
existing term. @itemx is only valid directly after an
@item command or @itemx command.
Texinfo supports a variety of cross reference types: with or without additional text, within the same file, across different Texinfo files, and to the outside world.
Nodes are the primary targets of cross references.
@anchor{anchor-name} marks additional
targets. Command @anchor does not produce any output. The names
of anchors must not conflict with node names.
Example usage:
    ... is the basis for several multi-point
    methods.  @xref{Multi-point Methods}.  We
    study the single point method ...
Example usage:
    The algorithm fails at higher order
    roots (@pxref{Higher Order Root}) and
    ill-conditioned roots of order one.
Until now we have only used the one-argument form of the cross referencing commands. However, they accept up to five parameters. Here is how the output changes with the number of parameters. I demonstrate the flexible usage with @xref.
@xref{target-name}
produces
*Note target-name::
in the Info version and
See Section target-section
[target-name], page
target-page
in the printed version, where target-section and target-page are the section number and the page number where the target lives in the printed version.
@xref{target-name,
cross-reference-name}
produces:
*Note cross-reference-name:
target-name
and
See Section target-section
[target-name], page
target-page
@xref{target-name,
cross-reference-name,
title-or-topic}
produces:
*Note cross-reference-name:
target-name
and
See Section target-section
[title-or-topic], page
target-page
@xref{target-name,
cross-reference-name,
title-or-topic, info-file-name,
printed-manual-title}
produces:
*Note cross-reference-name:
(info-file-name)target-name
and
See section
"title-or-topic" in
printed-manual-title
Texinfo defines a whole bunch of commands to markup special parts of text as being code, input from the user, a filename, and so on.
@emph{text-in-italics}
Render text-in-italics in italics. Info approximates italicization with underscores that bracket text-in-italics.
Example:
    Use tex(1), @emph{not} latex(1) to process
    your Texinfo files.
@strong{bold-text}
Render bold-text in boldface. Info approximates boldface with asterisks that bracket bold-text.
Example:
    Info files @strong{cannot} contain high
    resolution graphics.
@file{filename}
Make filename stand out by surrounding it with single quotes, like
`filename'. The printer version typesets filename in
typewriter font.
Example:
    Ensure the latest version of
    @file{texinfo.tex} is installed on your Linux box.
@url{universal-resource-locator}
Identify a universal resource locator (URL). The online version will show angle brackets around universal-resource-locator. The printed version does not add angle brackets, but typesets universal-resource-locator in typewriter font.
Example:
    More information on Texinfo can be
    found at @url{http://texinfo.org/}.
@code{program-code}
Mark up short pieces of program code.
    Prefer the two-argument form of
    @code{bless}, this is, always write
    @code{bless $objref, $class}.
@samp{literal-text}
Mark up literal characters, literal text, symbol names, and so on.
    Angle brackets (@samp{<}, @samp{>}) are the
    main delimiters used in HTML.
@var{replaceable-item}
Mark up meta-syntactic variables, the famous foo and
bar.
    The Perl command @code{bless} is best called
    with two arguments, like @code{bless
    @var{object_reference}, @var{classname}}.
@kbd{keystrokes}
Mark up a single keystroke or a series of keystrokes.
    Within emacs, type @kbd{C-h i} to start the
    built-in Info browser, or type @kbd{M-x
    info}.
@command{command-name}
Mark up a command name.
    The two most important shell commands are
    @command{ls} and @command{cd}.
@option{option-name}
Mark up an option name. Use @option in running text like
    Option @option{--html} forces
    @command{makeinfo} to generate HTML output
    instead of Info.
@option is not suited for marking up a command's synopsis. To
mark up a synopsis use the @example-environment. Say
    @example
        makeinfo --html --output=@var{output-filename} @var{input-filename}
    @end example
and refer to the options in the running text with
@option{--html} and @option{--output}, as well as to
the arguments @var{output-filename} and
@var{input-filename}.
By default, makeinfo generates Info files with the filename selected by
@setfilename. Option --no-split prevents
makeinfo from breaking the output in chunks (approximately 50KB in size).
Processing a Texinfo file with makeinfo also thoroughly validates the input file.
Option --no-headers makes makeinfo generate plain ASCII
files. Plain ASCII is a useful format for proofreading the online version and
also for applying spelling checkers like, for example, diction(1).
-monolithic forces the output of a
single file. Option -split on the other hand forces one file
per node.
texi2html by default converts @iftex sections and not
@ifinfo ones. You can reverse this behavior with the
-expandinfo option.
Note that all of texi2html's options start with a single dash.
dvips(1) to the .dvi file.
I have found the options --clean and --quiet useful.
The first removes all intermediate files, leaving only the final
.dvi file. The second suppresses all non-essential messages
(``No gnews is good gnews!'').--pdf or it stops,
crying for a .dvi file even if this very file exists. Argh! So,
my typical calls are
texi2pdf --quiet --clean --pdf foobar.texi
Texinfo differs from all the document preparation systems that we have had a look at so far, for Texinfo can be translated in an online viewing format different from HTML, namely: Info. Having an online viewing format, we need browsers to actually view it!
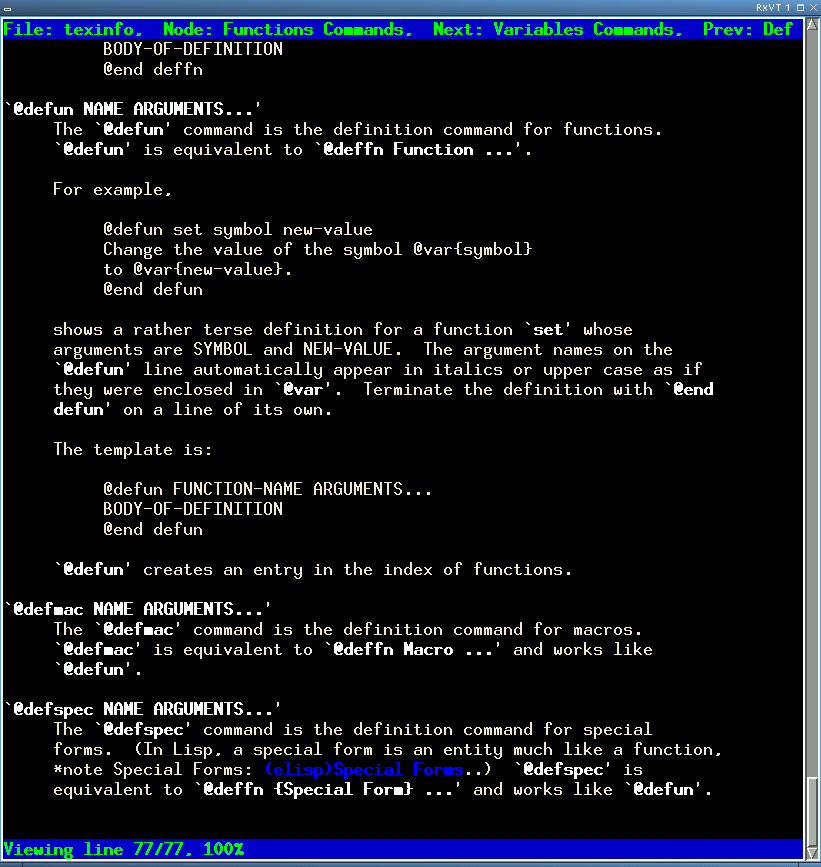
info, the mother of all Info browsers, is a simple but
efficient browser for viewing Info
files at a console.
To view the Info pages of topic, use
info topic
To browse Info file info-file, add
--file=info-file to the invocation of info, where
info-file contains the complete path to the Info file.
If you would like to start browsing at specific
node node-name, add --node=node-name.
My favorite mistake is mixing up topic with info-file, this is saying
info ./cache-profiler.info
when I really mean
info --file=./cache-profiler.info
pinfo is a curses(3) based Info browser with
lynx(1) like navigation. pinfo does a nice job colorizing Info pages.
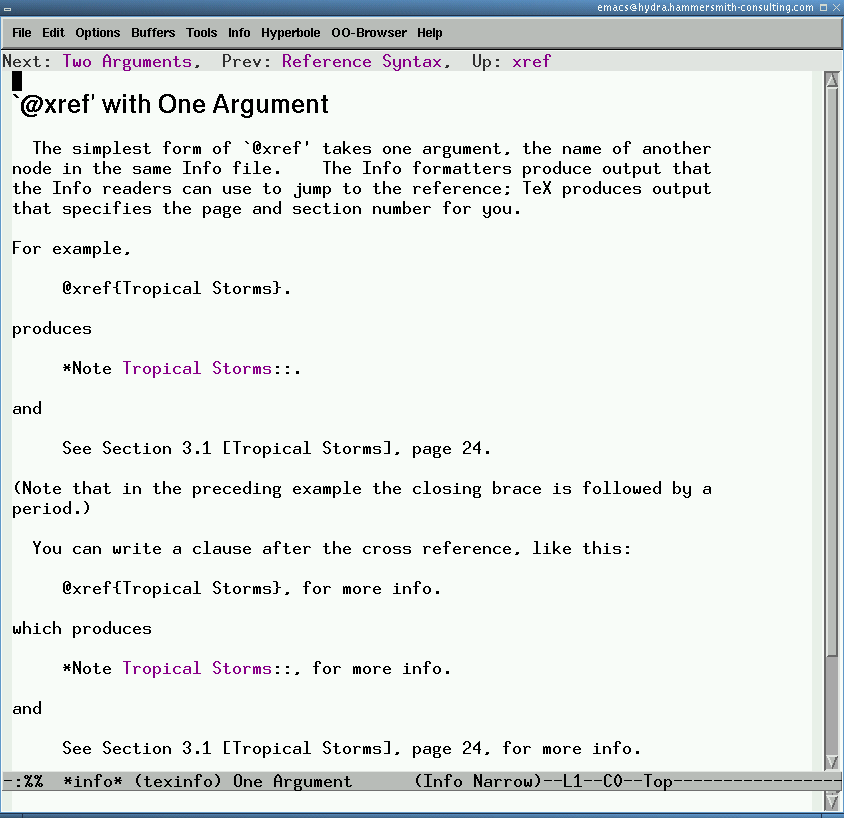
Emacs version 21.x features an improved Info browsing mode as proves this screen shot.
I know, it's only Emacs Info, but I like it, like it! Yes, I do!
You browse the installed Info documents (`C-h i', info). Or you load an Info file into Emacs and
turn the buffer an Info-browser with Info-on-current-buffer (note
the capital "I"). If you dislike switching between the Info buffer and you
working buffers, open the file to browse in another frame (`C-x 5
f', find-file-other-frame). To open a new frame with an
Info browser in it, switch to the *info* buffer in your
current emacs and issue view-buffer-other-frame.
For additional browsing pleasure, try
Info-speedbar-browser.
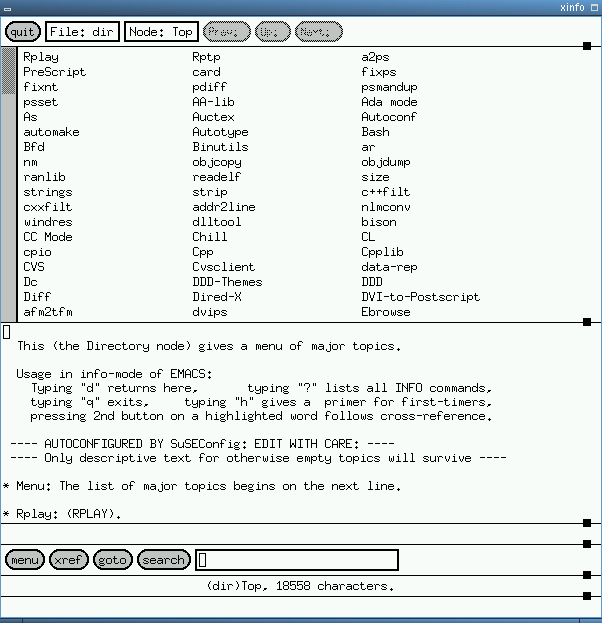
Here is a screen shot.
My favorite X-based Info browser! It has all the nice features of
info(1), starts up fast and has a compact layout.
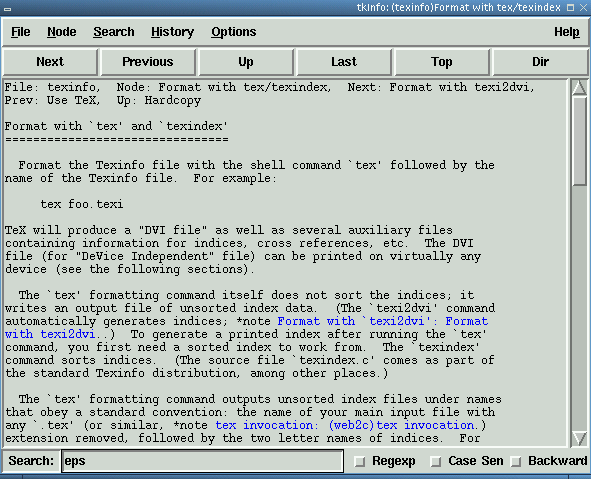
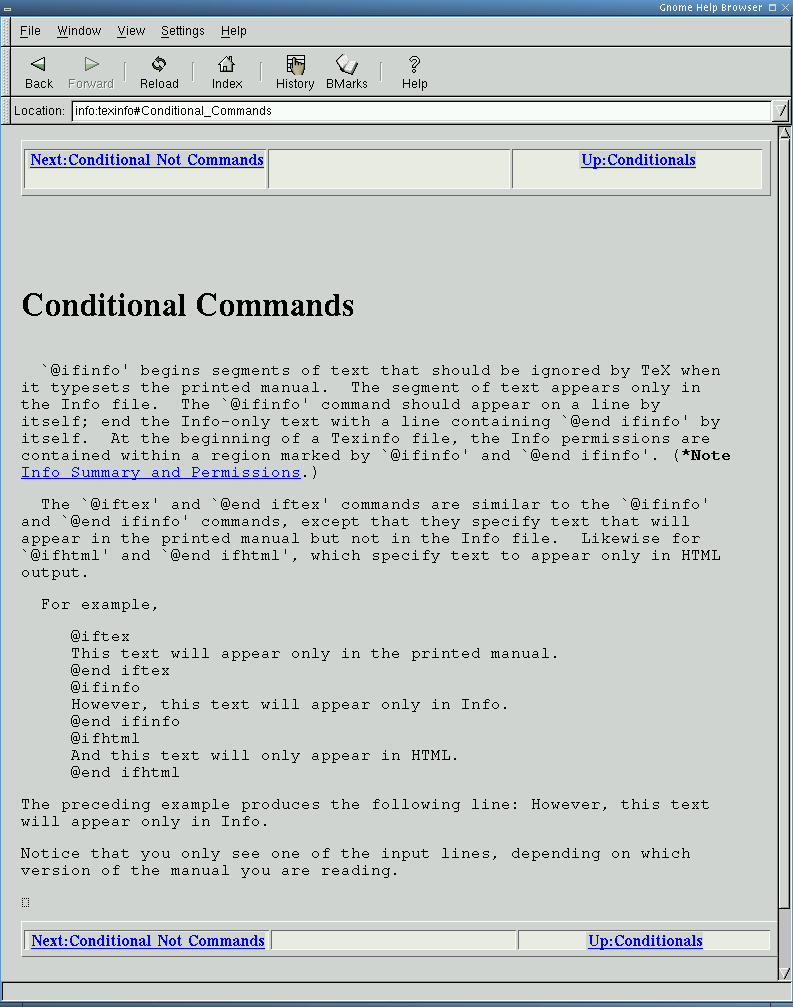
If you are a Gnome user, you probably know the
gnome-help-browser(1x). It displays Info pages, too.
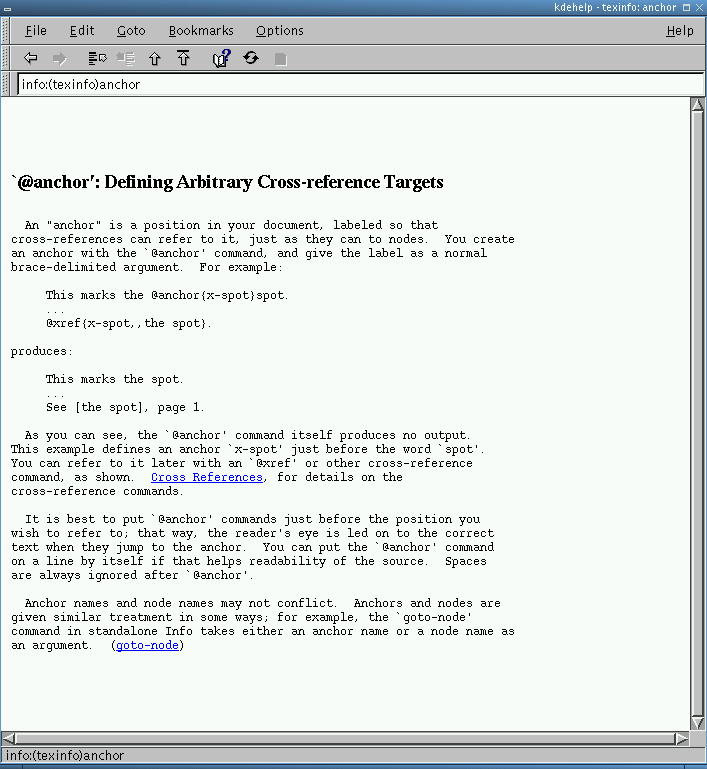
Same for KDE users... You probably know kdehelp(1x). Amongst
various other formats it also displays Info pages.
kdehelp is easily convinced to browse a specific Info file:
kdehelp ./cache-profiler.info
Thumbs up!
konqueror also displays info files (at least konqueror 2.2.2);
just type "info:" in the Location: bar.
| Application | Multi-format | X11-based | info Navigation |
|---|---|---|---|
info |
no | no | yes |
pinfo |
no | no | no |
emacs |
no | no | yes |
xinfo |
no | yes | yes |
tkinfo |
no | yes | yes |
gnome-help-browser |
yes | yes | no |
kdehelp |
yes | yes | no |
The home page of Texinfo, with lots of references and all that, is located at http://texinfo.org/
Available converters for Texinfo are listed at http://www.fido.de/kama/texinfo/texinfo-en.html
 Christoph Spiel